Object Detection results save on SD Card
Materials
AMB82-mini x 1
SD Card x 1
Example
In this example, we will be using development board to detect 80 different kinds of objects such as person, bicycle, car, laptop etc using on-board camera sensor (JX-F37P).
The following examples show how Object Detection and On-Screen Display is used as well as saving the results as JPEG or MP4 files.
SaveAsJPEG
SaveAsMP4File
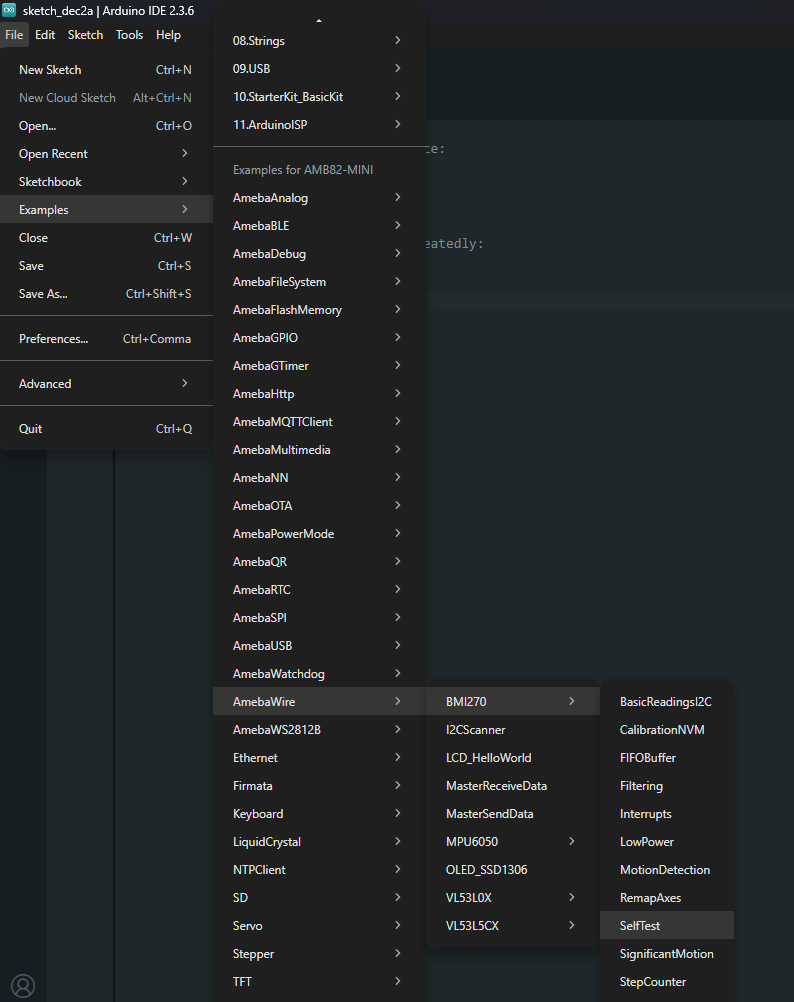
To save as JPEG files, open one of the Object Detection examples in File -> Examples -> AmebaNN -> ObjectDetectionSaveSDCard -> SaveAsJPEG

To save as MP4 files, Open one of the Object Detection examples in File -> Examples -> AmebaNN -> ObjectDetectionSaveSDCard -> SaveAsMP4File
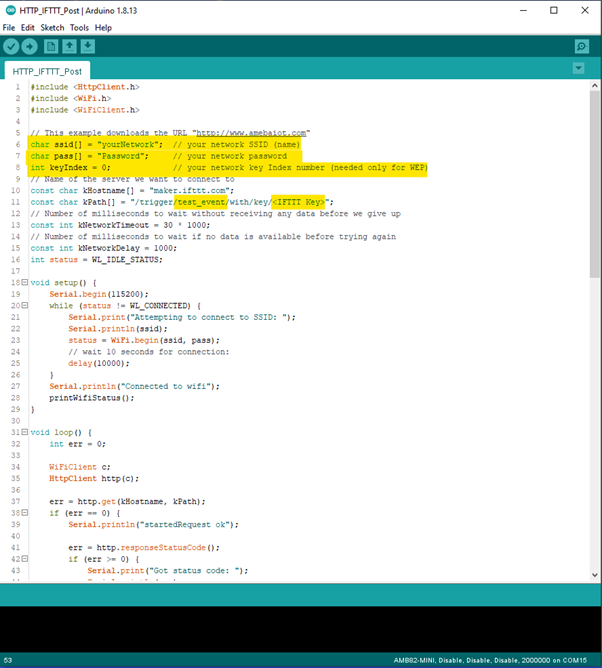
In the highlighted code snippet, fill in the “ssid” with your WiFi network SSID and “pass” with the network password.
Select Neural Network (NN) task and models using modelSelect() function highlighted in yellow. This function takes 4 arguments: Neural Network task, Object Detection model, Face Detection model and Face Recognition model. Replace with “NA_MODEL” if they are not necessary for your selected Neural Network task. Note that it is mandatory to call modelSelect() function before calling the begin() function.
Valid Neural Network task:
OBJECT_DETECTION,FACE_DETECTION,FACE_RECOGNITIONValid Object Detection model:
YOLOv3-tiny model:
DEFAULT_YOLOV3TINY,CUSTOMIZED_YOLOV3TINYYOLOv4-tiny model:
DEFAULT_YOLOV4TINY,CUSTOMIZED_YOLOV4TINYYOLOv7-tiny model:
DEFAULT_YOLOV7TINY,CUSTOMIZED_YOLOV7TINY
Valid Face Detection model:
DEFAULT_SCRFD,CUSTOMIZED_SCRFDValid Face Recognition model:
DEFAULT_MOBILEFACENET,CUSTOMIZED_MOBILEFACENET
Choose the customized option (e.g., CUSTOMIZED_YOLOV4TINY/ CUSTOMIZED_SCRFD/ CUSTOMIZED_MOBILEFACENET) if you would like to use your own NN model. To learn about the process of converting an AI model, refer to
AI Model Conversion Toolkit
. Additionally, refer to
AI Model Deployment Guide
to understand how to install and use the converted model.
Tip
Note that for Yolov7 object detection training from pytorch, you will need to perform an additional step for reparameterization. For this reparameterization step, Realtek has provided two scripts in the folder Yolov7_reparam_scripts, under ~/NeuralNetwork/Yolov7_reparam_scripts.
Command to run: python reparam_yolov7-tiny.py --weights weights/best.pt --custom_yaml custom/yolov7-tiny-deploy.yaml --output best_reparam.pt
You may also refer to Reparameterization Guide for Customized YOLOv7-tiny model for guidance.
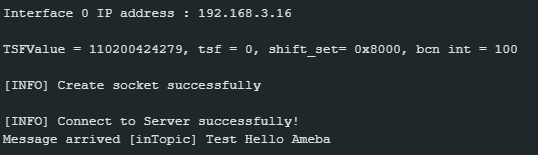
Compile the code and upload it to Ameba. After pressing the Reset button, wait for the board to connect to the WiFi network. The board’s IP address and network port number for RTSP will be shown in the Serial Monitor.
The result of detected objects can be validated using VLC. You may download VLC media player from the link here
Upon the completion of the software installation, open VLC media player, and go to Media -> Open Network Stream

Make sure your PC is connected to the same network as the board for streaming. Since RTSP is used as the streaming protocol, key in rtsp://{IPaddress}:{port} as the Network URL in VLC media player, replacing {IPaddress} with the IP address of the board, and {port} with the RTSP port shown in Serial Monitor e.g., rtsp://192.168.3.26:554 The default RTSP port number is 554.
Next, click “Play” to start RTSP streaming to see the result. The video stream from the camera will be shown in VLC media player.
A bounding box with its object name and confidence score will be drawn on the RTSP video stream to highlight the recognised objects.
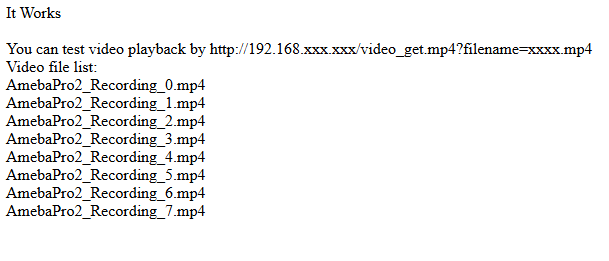
When there is objected, the results will be saved as JPEG (Single Image) or MP4 file, depending on your preference.
MP4 file
JPEG (Single Image)
The pretrained model can recognise 80 different types of objects in total. The objects can be found in ObjectClassList.h. The index number for each object is fixed and should not be changed. To deactivate the detection of certain objects, set the filter value to 0. For example, set the filter value to 0 to exclude the detection of bicycles.
Code Reference
You may adjust the video bitrate based on your WiFi network quality, by uncommenting the highlighted code below.