Quick Start
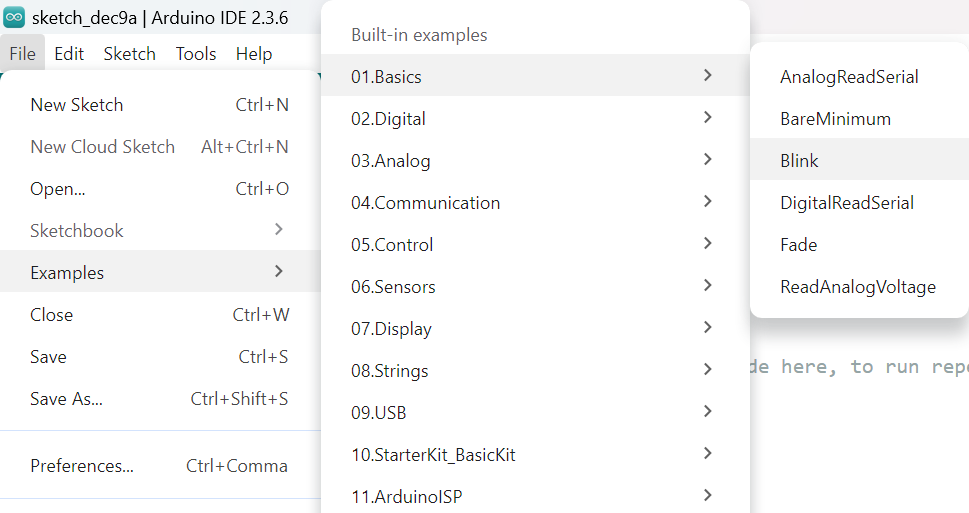
Arduino IDE provides many built-in examples that can be compiled, uploaded, and run directly on the boards. Here, we take the Blink example as the first try.
Arduino Program Structure
Open , as shown below:
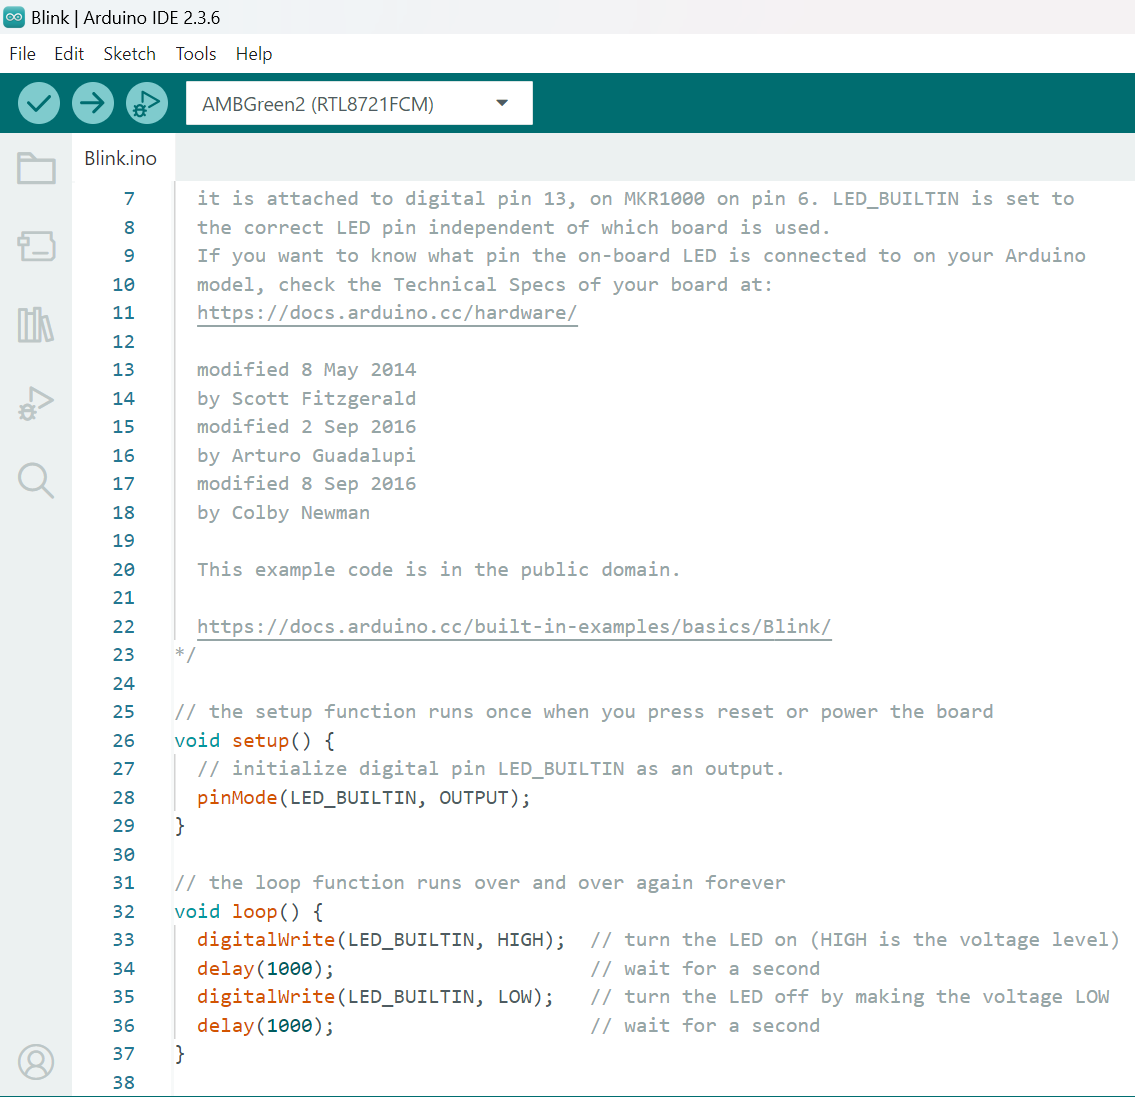
Arduino IDE will open a new window containing the complete sample code, as shown below:
Code Analysis
Function |
Description |
|---|---|
setup() |
Core function, used to initialize variables, pin modes, start using libraries, etc. Runs only once after the board powers on or resets. |
loop() |
Core function, the main body of the program. Loops infinitely after the setup() function finishes execution. |
pinMode(pin, mode) |
Sets the operation mode of the specified pin. In this example, the LED_BUILTIN pin is set to output mode. |
digitalWrite(pin, value) |
Outputs a value to the output pin. In this example, outputs HIGH (turns on the LED) and LOW (turns off the LED) to the pin. |
delay(ms) |
The current program will only execute the next line after the specified time (milliseconds) has elapsed. In this example, the output pin waits 1 second after outputting a value before changing it, making the LED stay on for 1 second and off for 1 second. |
Note
The boards package designates a specific pin as LED_BUILTIN for each board. Please refer to the code definitions in the boards package and the corresponding Boards Guide to determine the pin location.
For more information on Arduino API usage, please consult the official documentation: Arduino Programming Language
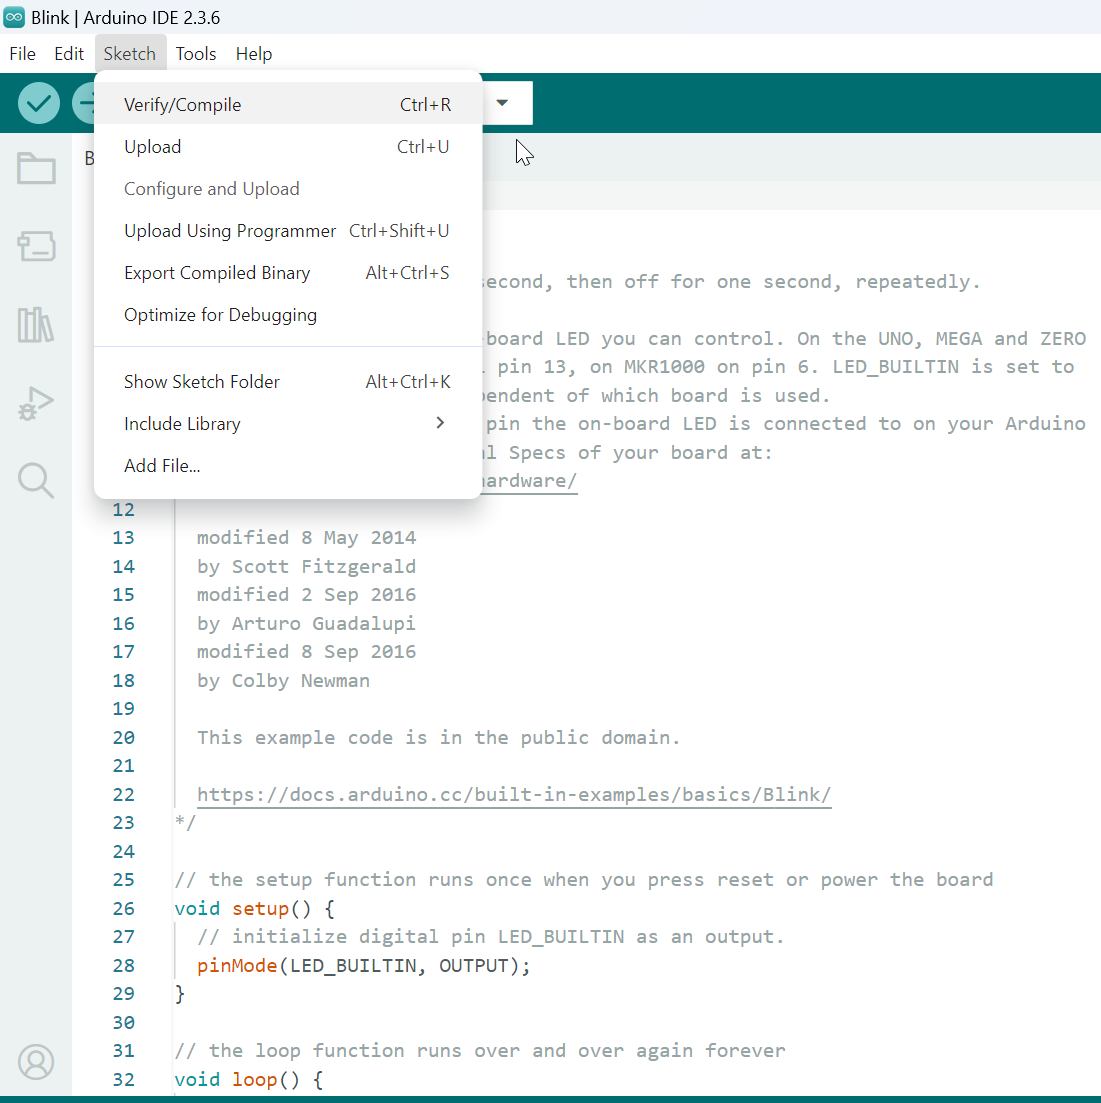
Compile
To compile the sample code, click , as shown below:
Arduino IDE prints compile messages in the bottom area of the IDE window. When compilation finishes, you will see the following message:

Enter Upload Mode
To upload a program to the board, you first need to make the board enter upload mode by following these steps:
Press and hold the DOWNLOAD button.
Press and release the CHIP_EN button.
Release the DOWNLOAD button.
Note
Check the corresponding Boards Guide to confirm the button locations.
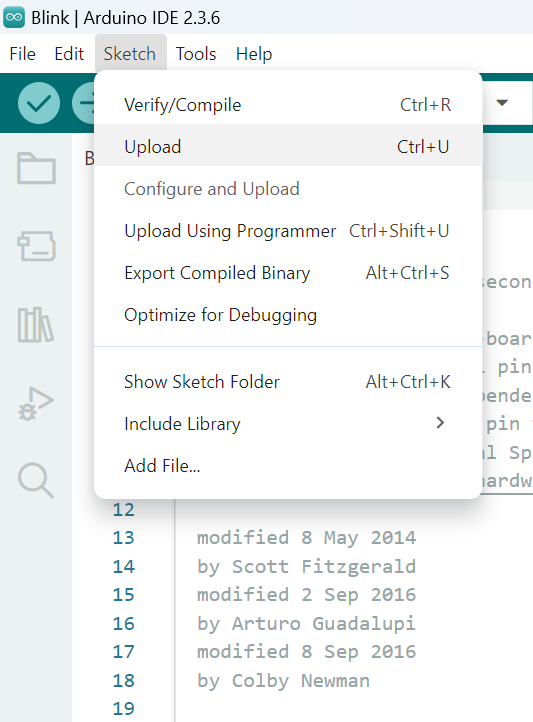
Upload
Click , as shown below:
Arduino IDE will compile first and then upload.
Similarly, during the upload process, the IDE displays messages. After the upload completes, the following message is shown:

Note
If a Linux user encounters a Permission denied error during upload as shown below, please refer to Arduino Official Documentation: How to upload a sketch with the Arduino IDE 2.

Run
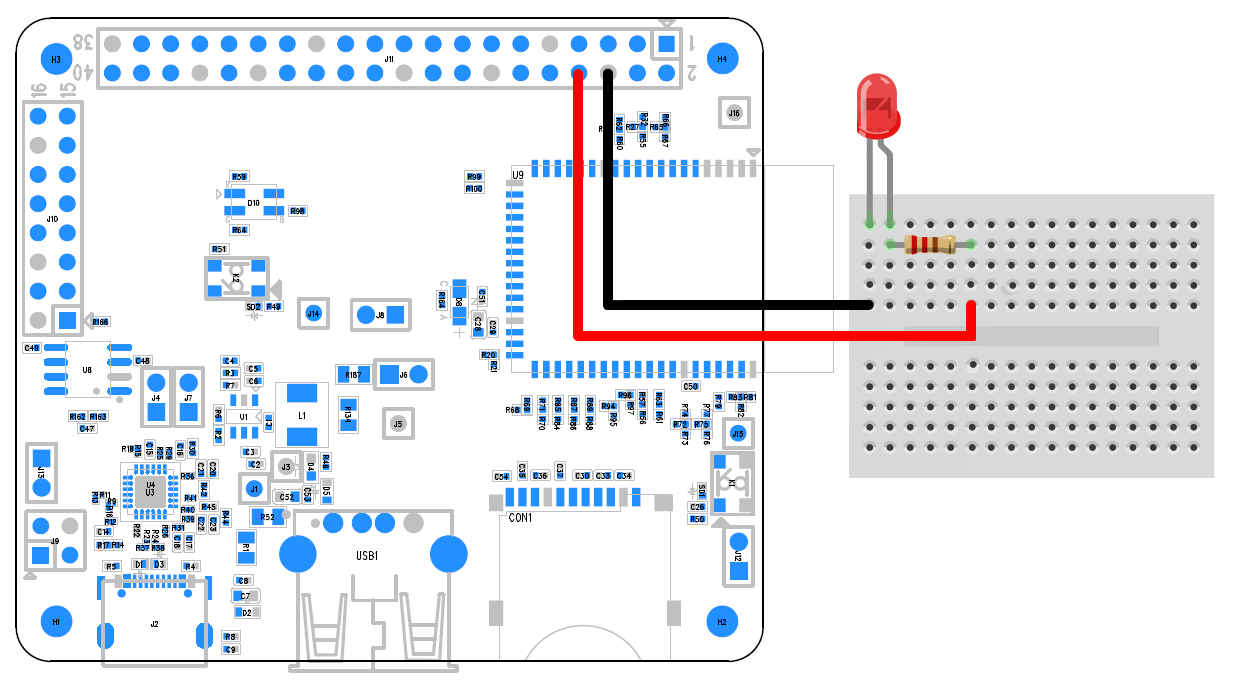
This example makes the LED blink. Usually, each board has a LED_BUILTIN pin connected to an LED. If the LED_BUILTIN pin on your board is not connected to an LED, you can connect an LED as shown in the figure below. It is recommended to connect a resistor with appropriate resistance in series between the LED and GND. Press and release the CHIP_EN button, and you will see the LED blinking.
Note
This example uses the EV721FC0 board. The pin corresponding to LED_BUILTIN may differ on different boards.