VS Code User Guide
Overview
The Ameba extension is a VS Code extension developed based on Cline. It retains all the native features of Cline while adding specialized functions for the Realtek Ameba series of chips, including development environment checks and automatic installation, SDK configuration, code compilation, firmware flashing, and serial monitoring. These features are provided through an intuitive button interface, simplifying the development workflow for the Ameba series.
Cline Resources
Getting Started
Installing the Extension
In the VS Code Marketplace, search for Ameba and click install.
Using Ameba-only Features
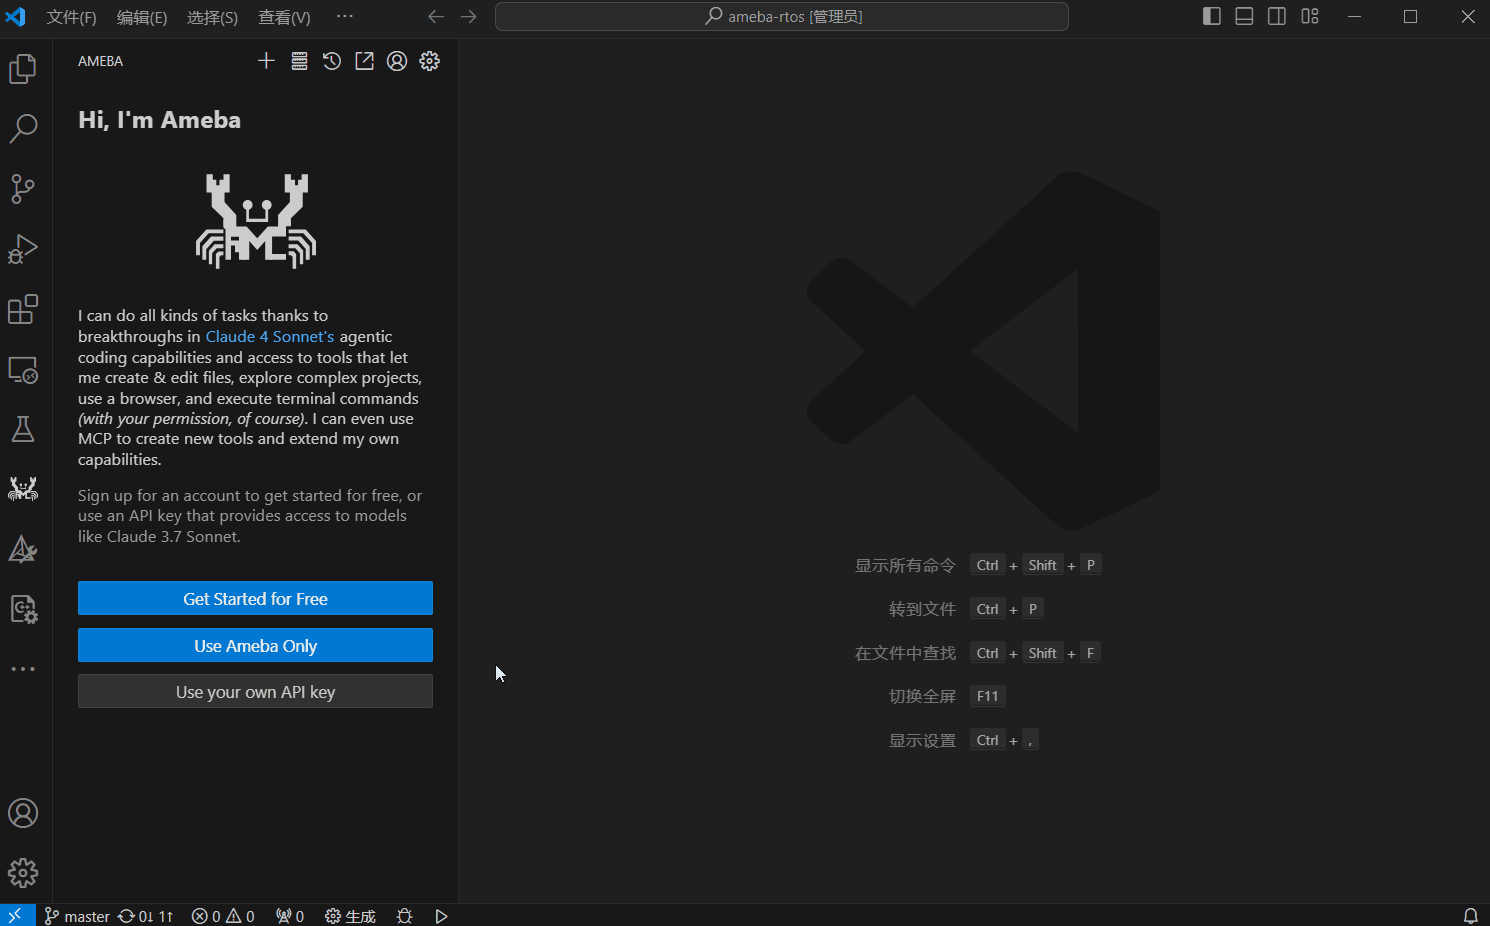
On the welcome page shown on first use, you can log in with a Cline account or use a custom API Key.
If you do not have a Cline account or API key, you can click the USE Ameba Only button to use only the Ameba-related features.
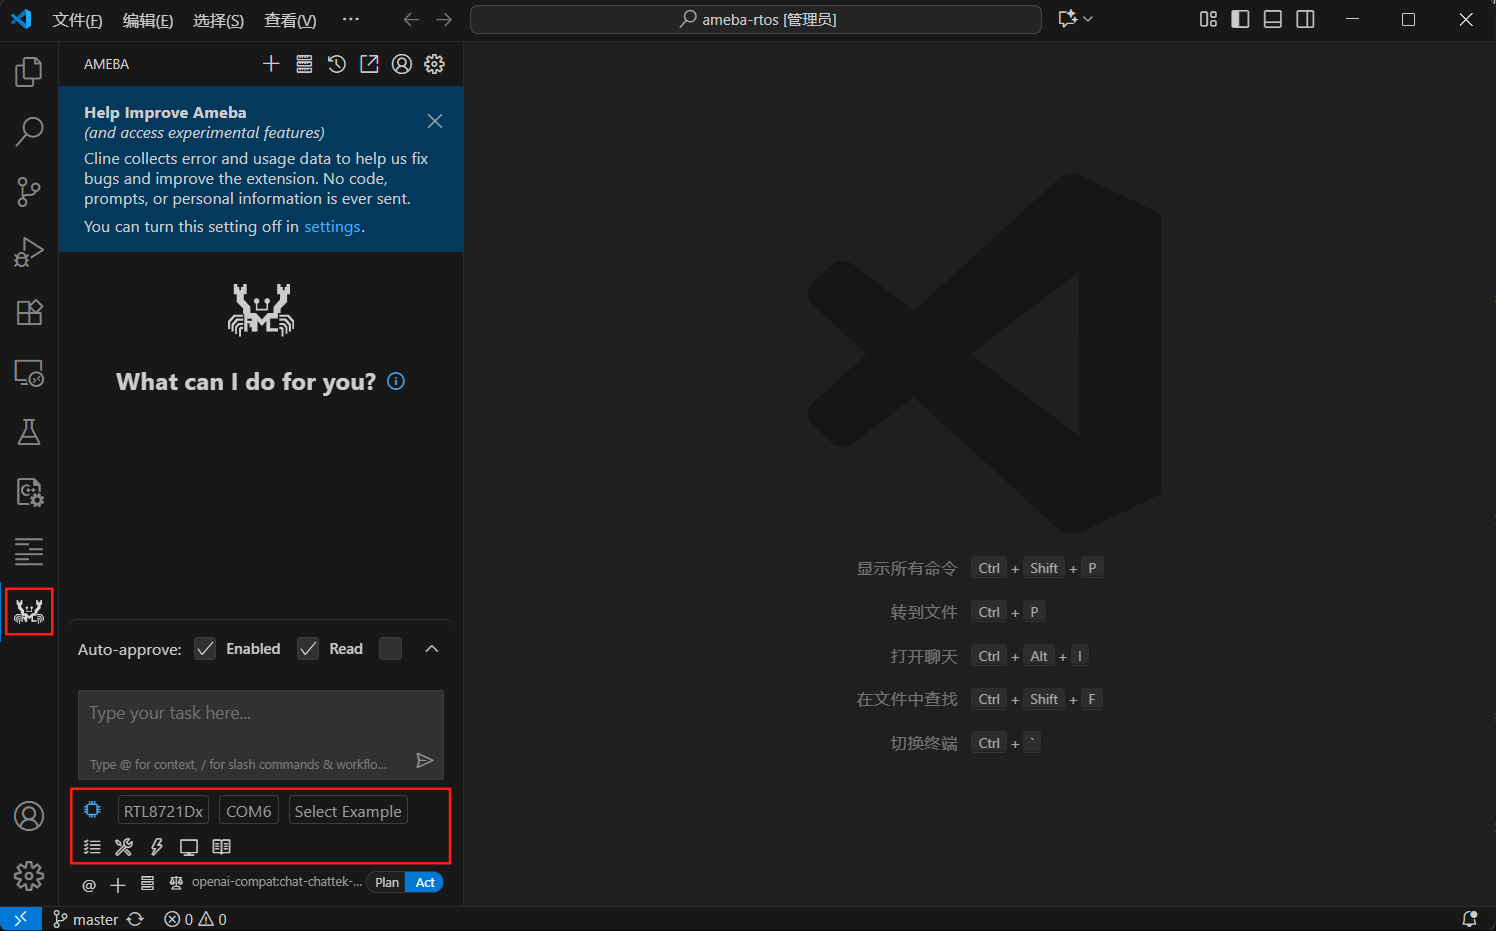
Ameba Feature Area
The red box in the figure below highlights the Ameba-related feature area.
Environment Check and Auto-Installation
The extension automatically checks the following configurations:
Whether the opened folder or its subfolders contain the Ameba SDK. For SDK download, please refer to FreeRTOS SDK Download .
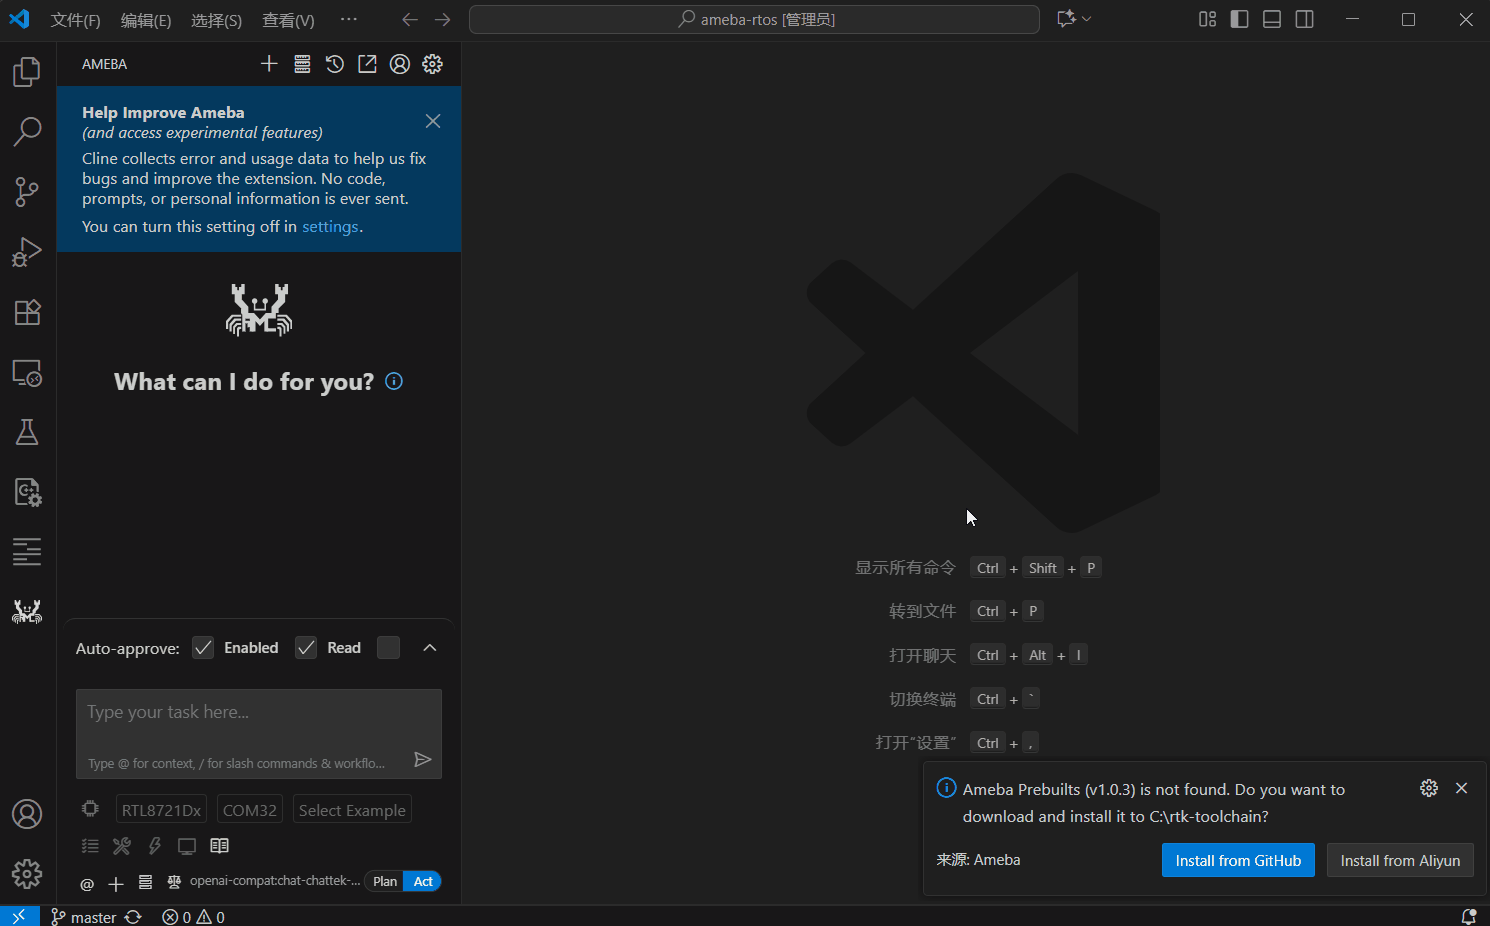
Whether the prebuilts for the development environment are installed correctly. If not, two installation options will be provided in the bottom-right corner: Install from GitHub and Install from Aliyun (users in mainland China are recommended to use Aliyun). Click to automatically download and install.
Whether the Python virtual environment for the SDK has been created correctly. If not, a notification will appear in the bottom-right corner prompting for automatic creation.
The Ameba-related feature buttons will only be activated after all the above checks have passed.
Chip Selection
Select the Ameba series chip you want to develop for from the dropdown menu.

Serial Port Selection
The extension automatically scans and updates all available serial ports in the system. Select the corresponding serial port for your development board from the dropdown menu.

Example Selection
Select the corresponding application example from the dropdown menu.
After selecting an example, a preview of its corresponding README.md file will be opened.
By default, or by selecting None in the examples, the base project configuration will be compiled.
Main Features
SDK Menuconfig
Click the Ameba Menuconfig button to open the graphical SDK menuconfig.
For more information on SDK menuconfig, please refer to Configure SDK (menuconfig) .

Project Compilation
Click the Ameba Build button to compile the project.
The compilation process will display detailed progress and log information in real-time.

Firmware Flashing
Click the Ameba Flash button to start the firmware flashing process.
During flashing, the extension automatically selects the corresponding firmware and flash address based on the SDK configuration and the Flash Layout Information .
It provides real-time feedback on flashing progress and detailed logs.
Serial Monitor
Click the Ameba Monitor button to open the integrated serial monitor, which automatically selects the baud rate and connects to the serial port.
It displays and receives serial data in real-time.

Online Documentation
Click the Ameba Doc button to open the default browser and navigate to the official Realtek Ameba website.
Advanced Features
Remote Serial Port Flashing and Monitoring
If your local machine is a Windows system, the development board is connected to it, but you choose to have the SDK on a Linux server and develop using the VS Code Remote-SSH extension, you can follow these steps:
Download and run the AmebaSerialServer on your local Windows machine. By default, it starts without a password. If security is a concern, you can right-click the software icon to configure a password.
In VS Code, press F1, type ameba: Remote Servers, and click the corresponding option.
Click the Add New Remote Server option.
Server Name: Enter a custom name for the server.
Server Address: Enter the IP address of your local Windows machine.
Server Password: If you have configured a password for the server software, enter it here. Otherwise, press Enter to skip.
After successful configuration, if VS Code is connected to the Ameba SDK via Remote-SSH, the serial port list will be updated with remote serial port information. You can select it for remote flashing and monitoring.
Pressing F1 again in VS Code and entering ameba: Remote Servers allows you to view existing server information. You can click on an existing server to delete it.